
Tuesday, June 8, 2010

More One Layer Cards...

Are you sick of them yet???  I am not!  This month's A muse Lounge Challenge is called "Taking off some Layers"  Isn't Jennie so clever with words?!  I have been making OLCs like crazy and have 3 to show you!

This first one is so simple, but I had to hug myself after thinking of the idea.  I was playing around with the new Vintage set from A muse and was using the sentiment "You make me smile" for another card.  Being a clear stamp, you can bend it...and it goes perfectly into the shape of a smile!  I tried various ideas for the eyes, the most scary looking being A muse's Sun stamp...it was the face of someone possessed!!  In the end, I settled for blue buttons - more friendly!!  I pierced a circle using a nestie as a circle template.  Love those nesties!!


Supplies:

Paper:  SU very vanilla
Stamps:  A muse
Ink:  palette hybrid noir
Accessories:  SEI buttons, circle nestibility, SU linen thread, paper piercer, corner chomper


The second and third cards use the same layout and some of the newly released stamps from A muse - gorgeous, eh?  Pretty self explanatory to make...


Supplies:

Paper:  A muse (wheat)
Ink:  Palette hybrid moulin rouge, charcoal & noir
Stamps:  A muse (Marigold, gossamer wings, many thanks)
Accessories:  Making Memories brad, paper piercer


Supplies:

Paper:  A muse
Ink:  SU (cool caribbean, not quite navy, certainly celery, always artichoke)
Stamps:  A muse (wild rose branch, hello, gossamer wings)
Accessories:  none!
Technique:  rock & roll

Hope you enjoy my trio of OLCs...tomorrow is Susan's One Layer Wednesday...why stop making these???

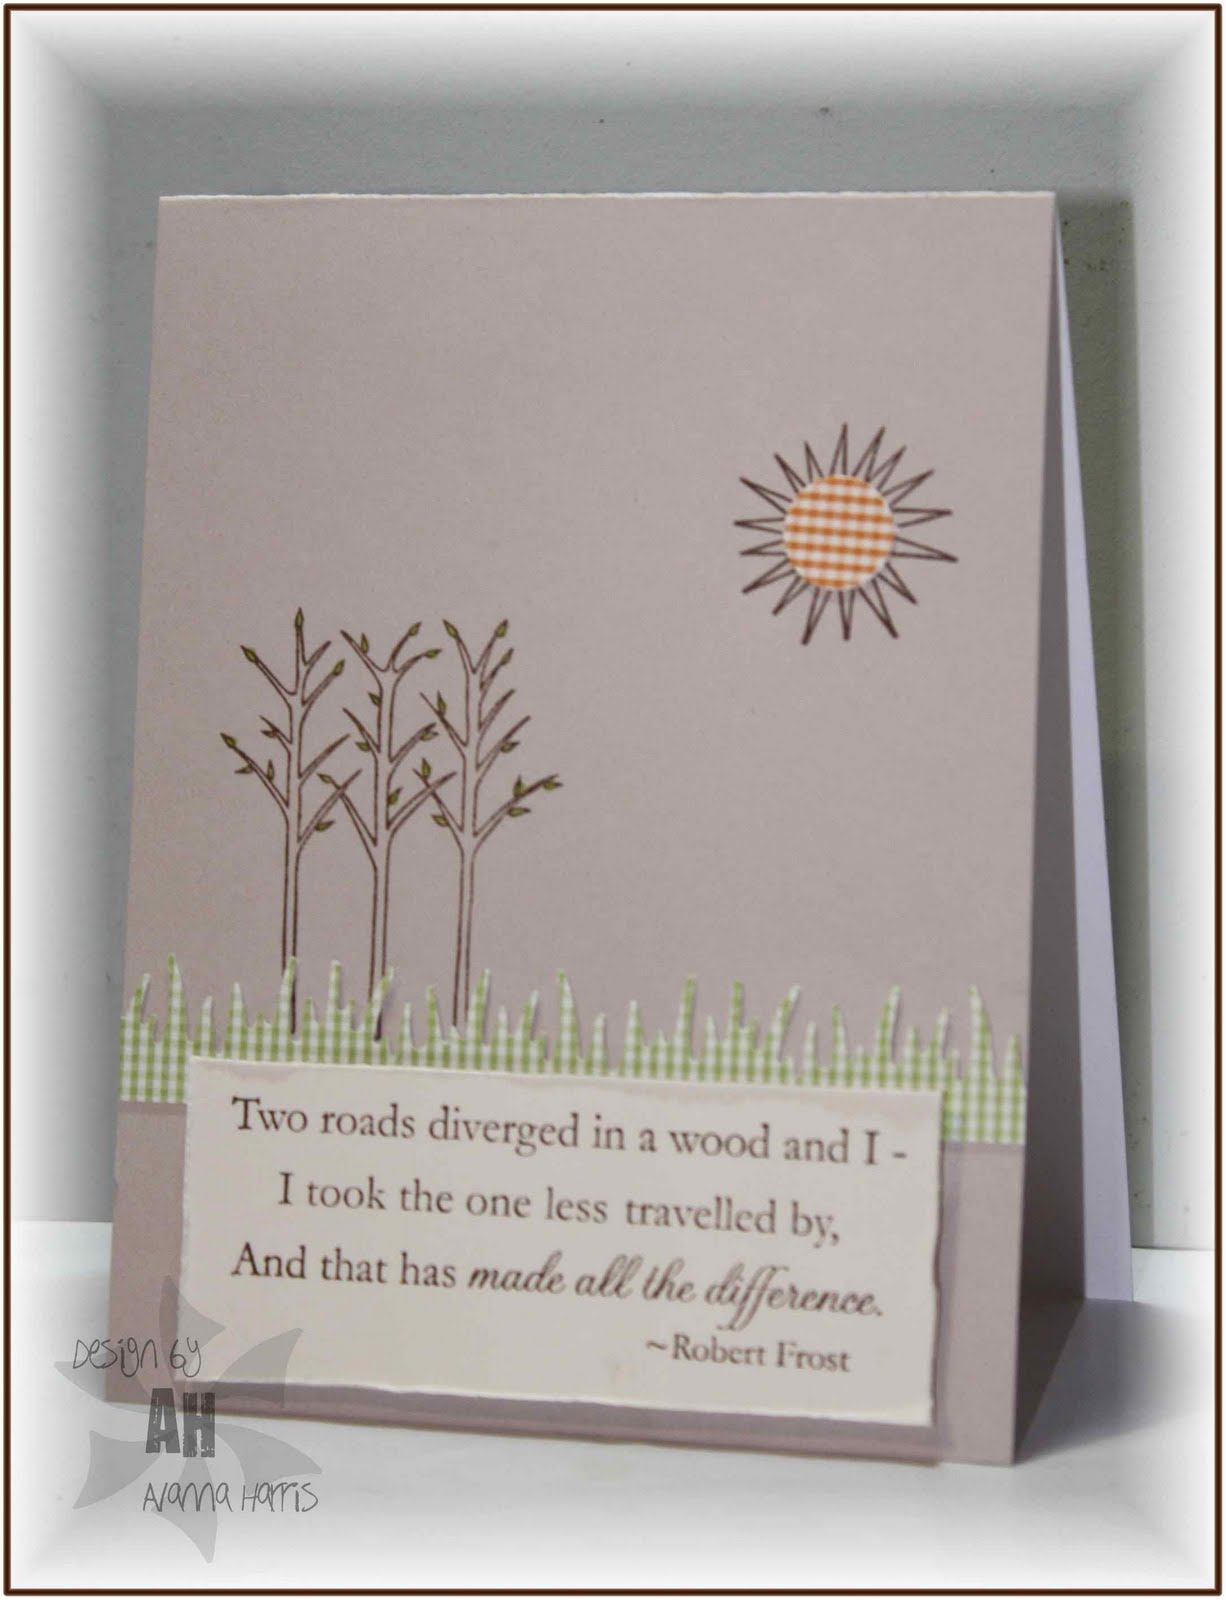
Two roads...

I love the poems of Robert Frost...and so I had to buy Lisa Strahl's stamp set "Motivational Centers" from Cornish Heritage Farms.  This week's CAS challenge on SCS was to make a greeting the focal point of your card.  I used part of Robert Frost's "The road not taken" as my focal point.

The rest of the card is kind of understated to allow more focus on the verse.  I used A muse's new cardstock colour "wheat" for my base - it's an addictive colour!!  I added a touch of gingham dp for the scene to give a bit of colour pop.  I tried highlighting some of the words in the verse with colour, but I didn't like the look of it, so I changed it back to plain (ie: dragged out the stamp set and did it all over again!!)

I plan on posting a series of One Layer Cards later on so stay tuned!

Supplies:

Paper:  A muse (wheat, gingham)
Ink: palette hybrid burnt umber
Stamps:  A muse (birch trees, sun), Cornish Heritage Farms (Motivational Centers)
Accessories:  Martha Stewart grass punch, pop dots, SU 1/2" circle punch 

Thursday, June 3, 2010

One Layer Time...

One Layer Challenges are all over this month! Susan's One Layer Wednesday Challenge is to use repetition and A muse just posted their monthly challenge in the Lounge called "Taking off some layers"

As a result, I have a series of OLCs that I will be posting over the next week or so...I can't stop making them! Here is my card for Susan's challenge. I apologize for the slightly out of focus picture, I think the madeira paper in the background was messing up my camera somehow!!


Supplies:

Paper: A muse
Ink: Palette hybrid noir
Stamps: A muse (ladybird, hello)
Accessories: copics, black ribbon (unknown source), paper piercer, corner chomper


A muse has a wonderful selection of tiny stamps - this ladybug is one of my growing collection of these. I absolutely love the font of this sentiment...I have been using this stamp over and over since I got it - you may recognize it from last week's challenge! I think the font matches perfectly with the ladybugs' antennae this time...

I used a circle nestibility die to trace the circle, used my SAMJ to align the ladybugs around the inside of the circle, added my sentiment in the middle and pierced around the outer edge of the circle. I added the ribbon/bow and chomped off a few corners to soften the card. Hope you can find some time and some little stamps to join in on the challenge!!

Sunday, May 30, 2010

To all the Heroes...

Thank you for all you do and have done...this card is for you.

Everyday when I drive to and from work, I pass a house with a big yellow ribbon tied around the biggest tree in their yard. Ever since I knew about the theme for this week's CAS challenge on SCS, "Heroes", I knew I wanted to make a card with a yellow ribbon on it.


Supplies:

Paper: SU (going grey, very vanilla)
Stamps: A muse (thanks)
Ink: palette hybrid noir
Accessories: SU ribbon, A muse twinkle stickers, pop dots, corner chomper, black copic marker


This is the last card for my stint on the CAS design team...the selection process is in full swing for the summer term. I have thoroughly enjoyed doing this...CAS is right up my alley!!

The card is pretty self explanatory...I attached the ribbon with glue dots, stamped and fussy-cut the sentiment (don't you love it's size?!), popped it up and chomped the corners off. I added the twinkle stickers (coloured black with copics) as an afterthought because the card was missing something. Thanks for stopping by...hope you can play along!

Saturday, May 29, 2010

Overlapped...

I'm a bit slow getting Susan's (LateBlossom) One Layer Wednesday card done...here it is in all its overlapped glory:


Supplies:

Paper: A muse notecard
Ink: Palette hybrid noir & charcoal, SU soft sky & cool caribbean
Stamps: A muse (big bl, jellyfish, hello)
Accessories: copics


Amazingly enough, I did not feel compelled to add any glitter, bling or any other dimension to the card. WOW. I chose to pair the jellyfish and the hello sentiment because I thought the tentacles were similar to the hello font. I stamped the jellyfish in charcoal ink and the sentiment in noir so that it would stand out from the tentacles. I added big bl in the background to ground the image (stamped off once to be more subtle). Done. I may mass produce these or some variation for my son's teacher. Need to get working on that....4 teachers to make card sets for...

Hope your weekend is enjoyable...maybe you'll have time to try Susan's challenge!

Sunday, May 23, 2010

Summer Time...

As this post goes up, I am in the Big Apple for a long weekend getaway with my hubby! I will have to post some pics when I get back...

This week's CAS challenge on SCS has to do with summer. The weather here lately has been so warm and sunny, perfect inspiration for this card:


Supplies:

Paper: SU(barely banana, kraft, summer sun), PTI white, A muse (gingham)
Ink: Palette hybrid burnt umber
Stamps: A muse
Accessories: copics, cricut (going places cartridge), MFT large scallop die, SU chunky glitter, pop dots, SU word window punch, corner chomper


I started this card out with the sandcastle stamp. I made a sandy border with a strip of kraft that I ran through the xyron and glittered. I made the waves with my new MFT scallop die (LOVE it!!). I added the sunny coloured background and a sparkly sunshine. The sun was cut out using my cricut. I had to fiddle with the sentiment to get it to fit into the word window punch...it's actually longer than the punch shape. I won't try to describe this myself as GinaK has already made a lovely tutorial with pictures about how to make a long word window punch shape. This card certainly isn't my usual CAS style, but I like it!! There's still some white space, right??!! Have a great day...hope you can play along in the challenge!

Monday, May 17, 2010

Three Latte Thanks...

I can't stop buying A muse stamps...I got a wee shipment in the mail from tamijo on SCS - the clear coffee break set. Had to ink it up tonight...perfect for a friend who just returned from Cuba and brought me back a gorgeous little espresso cup. Also perfect for this month's A muse Lounge Challenge, "2, 4, 6, 8, Who Do We Appreciate?"

Here is what I made:


Supplies:

Paper: SU (kraft, cranberry crisp, very vanilla)
Ink: palette hybrid burnt umber, PTI tea dye (chai & chamomile)
Stamps: A muse (coffee break & ovals)
Accessories: copics, pop dots, SU curly label punch, paper piercer, SAMJ,


I stamped three coffee mugs and coloured them with my copics. I masked them and used one of my oval stamps to ground them. I was going to punch them out with a circle punch, but my hubby thought I should use the "funky square" punch instead. Good idea!! I couldn't resist a little distressing around the edges with the tea dye inks (I'm likin' this shabby thing...)

I stamped the sentiment repeatedly along the bottom third of the card. Thank goodness for my Tim Holtz ruler - amazingly easy to line up images so they are straight. I added a strip of red under the "funky squares" because they seemed too stark white compared to the rest of the card. Then I used the ruler again to pierce lines above and below the sentiment & the images. Hope you like it!!